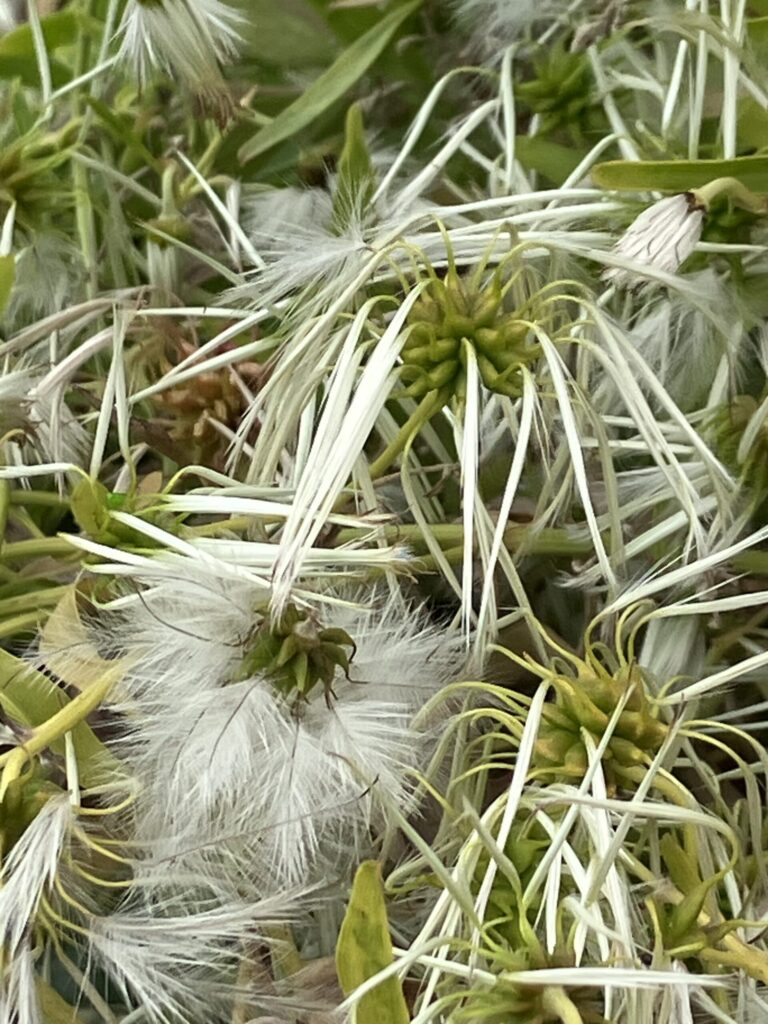
Growing you plants from seed collected at your revegetation site means that these plants will be really well suited to local environmental conditions. You can collect seed from your revegetation site and other nearby bush sites (although you may need a permit for this).
It’s easy and fun to grow your own plants for revegetation – no green thumb required! Growing your own plants from seed is also low- cost. That said, growing your own plants from seed will take longer, and you are unlikely to have a 100% success rate.
When do I collect seed?
Plants are just like people – they are all different. Some plants have seed all year round, while other such as grasses usually seed during Summer.
Your “My Plant Portal” will show you which plants can be grown from seed, and when to collect them. Here are some instructions and tips on how to collect seeds.
How to collect seed
- Choose fruit or seed heads that are mature, insect and disease free. Mature fruit or seed heads are usually yellow, grey or brown, and look dry. Green seeds and fruits are normally immatur, and won’t grow properly.
- Pick or shake the fruit or seed heads from branches/stems into a container (a bucket is fine). Don’t collect too much seed from one plant – try to collect small amounts of seed from lots of plants that are further apart (plants that are further apart aren’t closely related, which will increase genetic diversity).
- You can cut off fruit on small trees and shrubs with secateurs, or run your hand down the branches to remove it.
- Place the seeds and fruits in a paper bag to keep them dry. Label the bag (plant type, date, location etc) so that they don’t get mixed up.
- Take the labelled paper bags and store them in the fridge until you are ready to grow your seeds.

Getting prepared
Some plant species become dormant so they that they can survive until the conditions are right for them to germinate. These native seeds require some type of pre-treatment to break their dormancy and to encourage germination – – we need to wake them up. Your “My Plant Portal” will tell you which seeds require treatment.
Native plants that require pre-treatment are often native to areas where bushfires occur at regular intervals – the heat of the fire cracks the hard coat and allows moisture to reach the seed inside. Pouring boiling water over the seeds simulates this effect. Other seeds need smoke to germinate. Watch this helpful Gardening Australia video for more on seed pre-treatment.
Potting
1. Start collecting your recycled containers a few weeks before you do your seed collection. Wash your recycled containers and pots until they are free of dirt and put them in the sun for a few days to sterilise.
It’s better to plant more seeds in larger pots rather than use lots of small containers. This allows seedlings to be transplanted when bigger, and they are less likely to dry out.
2. Sterilise your seed propagating mix by putting it into your containers or tray and pouring boiling water over it. Let it cool before planting. You can either use a commercial seed potting mix or make your own (eg. equal parts course river sand and vermiculite, or native potting mix with added perlite to hold both oxygen and moisture).
3. Sprinkle really small seeds (< 1 mm) on the soil surface – they don’t need to be covered. Slightly larger seeds (less than the size of a tomato seed), can be sprinkled on the surface and then covered with a thin layer (1-5 mm) of sieved coarse river sand, sieved potting mix or vermiculite (depth = several times the diameter of the seed). Larger seeds (such as wattles) can either be pushed individually into the potting media or surface-sown and covered by a thin layer of of sieved coarse river sand, sieved potting mix or vermiculite (depth = half or same diameter as the seed).
4. Make sure to label your containers with the plant type and date.
5. Keep your seeds in a warm, dry area inside. Place your containers a capillary bed in a warm spot – the soil should remain damp but not wet. A capillary bed replaces overhead watering which can lead to damping off (a fungal disease) or even wash your seeds away!
6. Re-pot the seedlings when they are large enough to be handled. This is usually when the second pair of leaves appears. You can remove seedlings using a knife or narrow spatula (you can make your own using a 10cmx 1cm piece of aluminium). Alternatively, hold them carefully by the seed-leaves (not the stem). Transfer them into small pots containing a suitable potting mix. Keep them somewhere warm and dry and spray them gently with water from a spray bottle – the soil should remain damp but not wet.
